
Pixelate Part of an Image
Pixelate faces, license plates, addresses, and other details that should not be public. Zoom into the result before saving to make sure the covered content is unreadable.
How to pixelate part of an image
How to cover what needs covering before you share.
Choose an image
Choose the photo or screenshot you want to pixelate. The file is processed locally in the current browser and is not sent to Boltpic for editing.
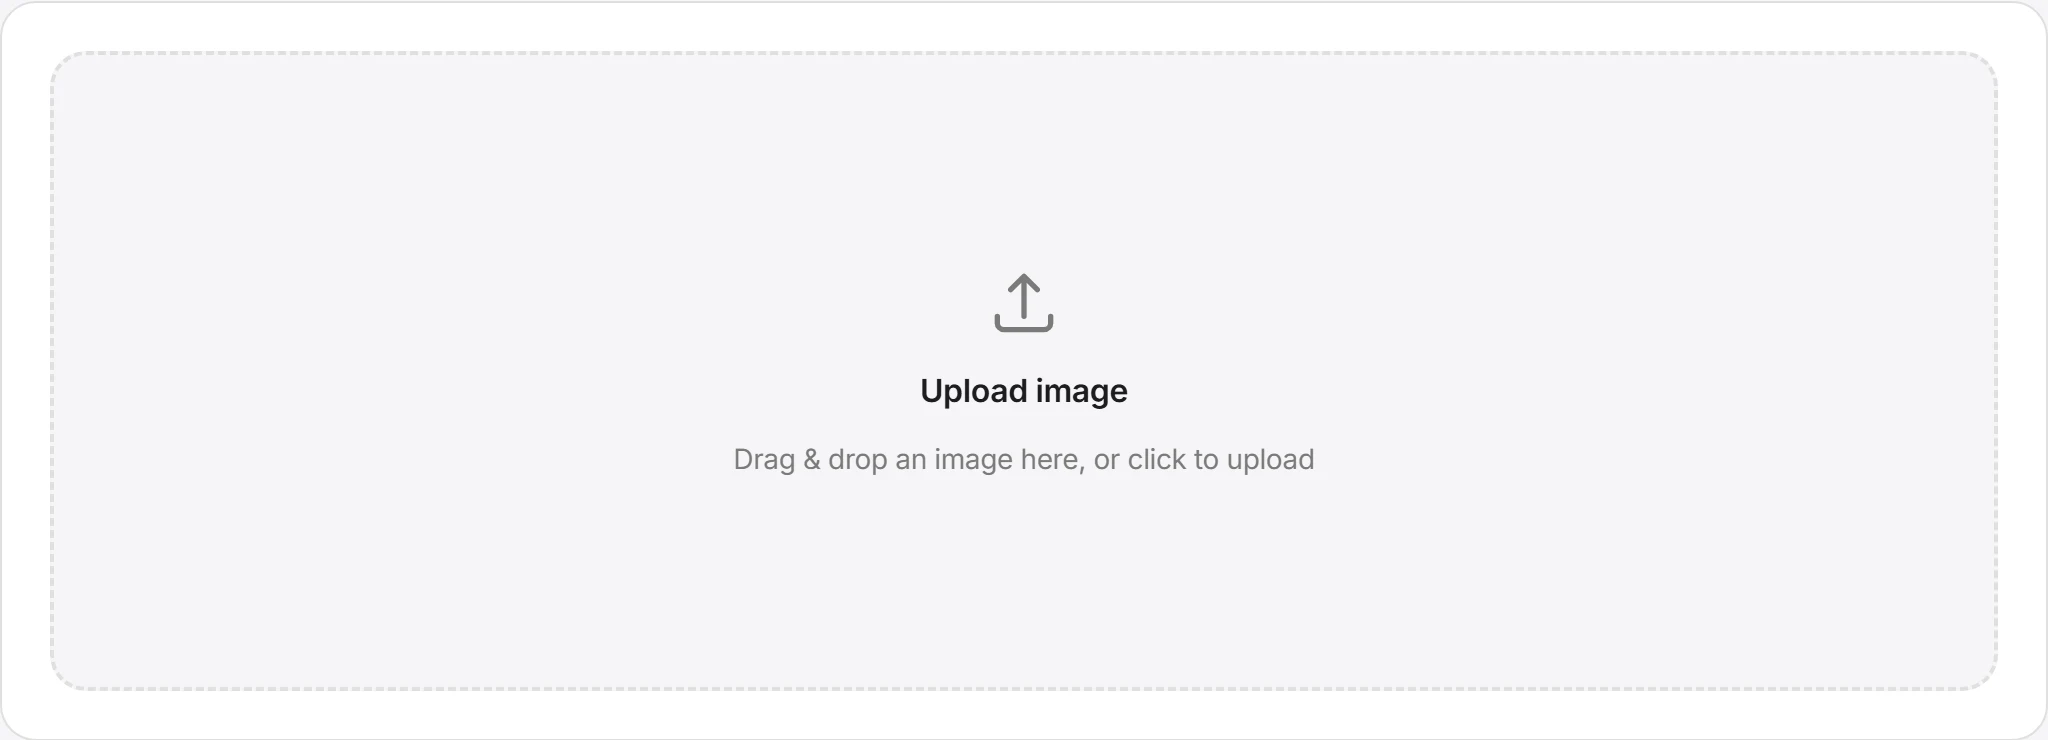
Select the area to hide
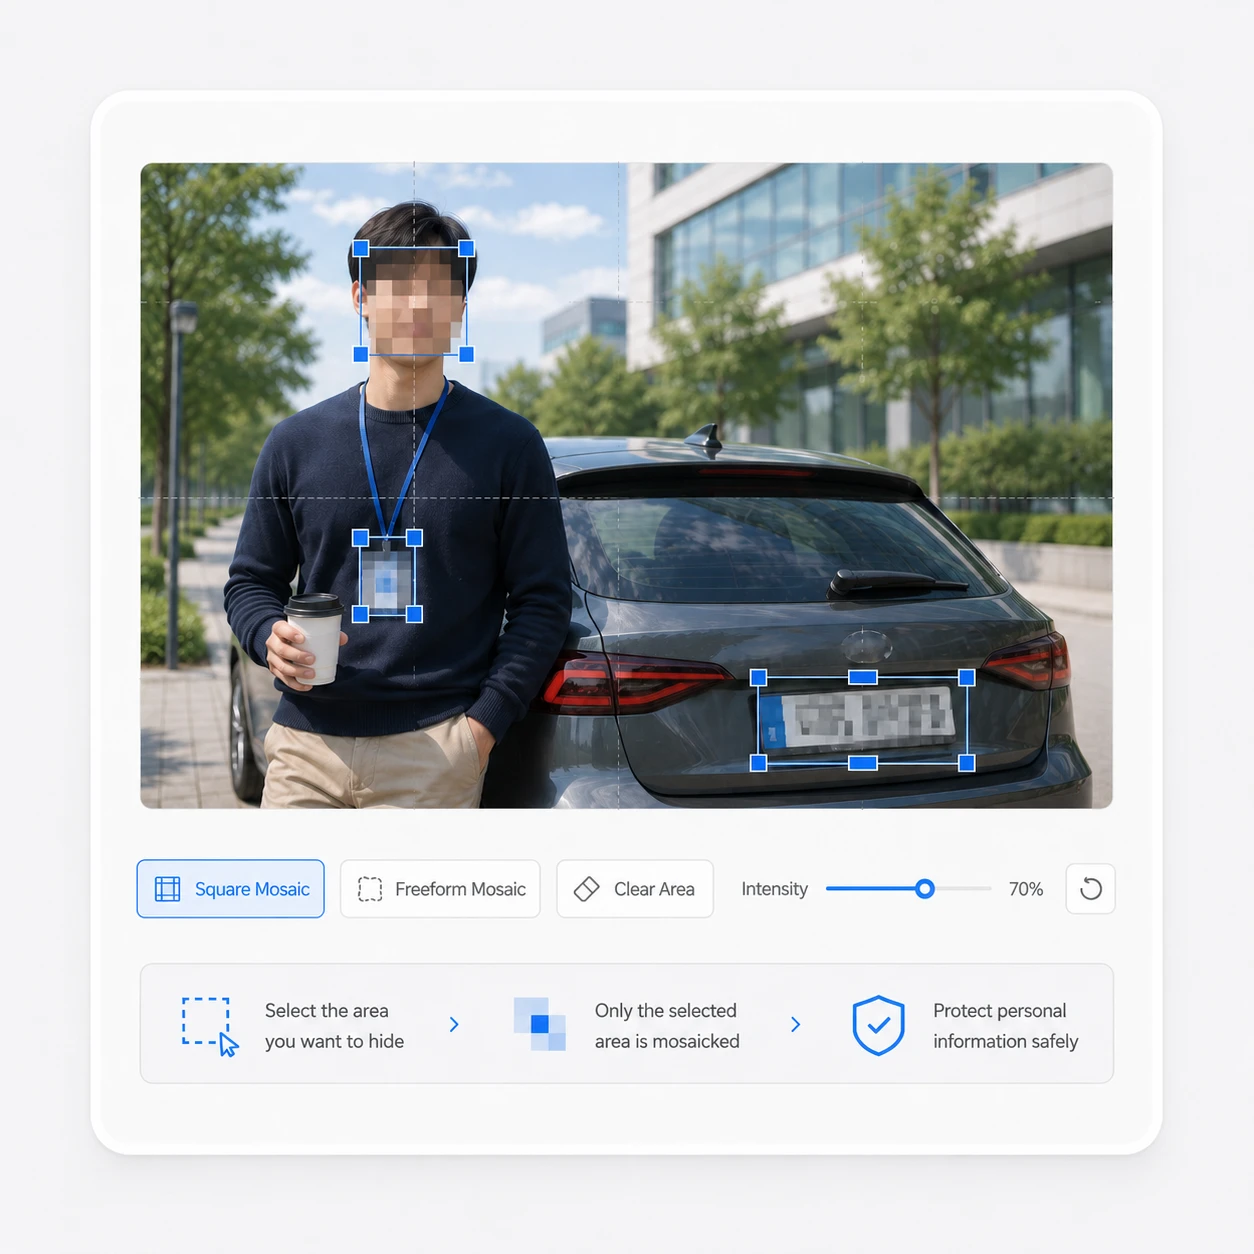
In “Selected area” mode, choose rectangle, ellipse, or lasso and drag over the part to hide. After selecting, drag inside to move it or use the handles to resize. To cover everything, switch to “Whole image” mode.
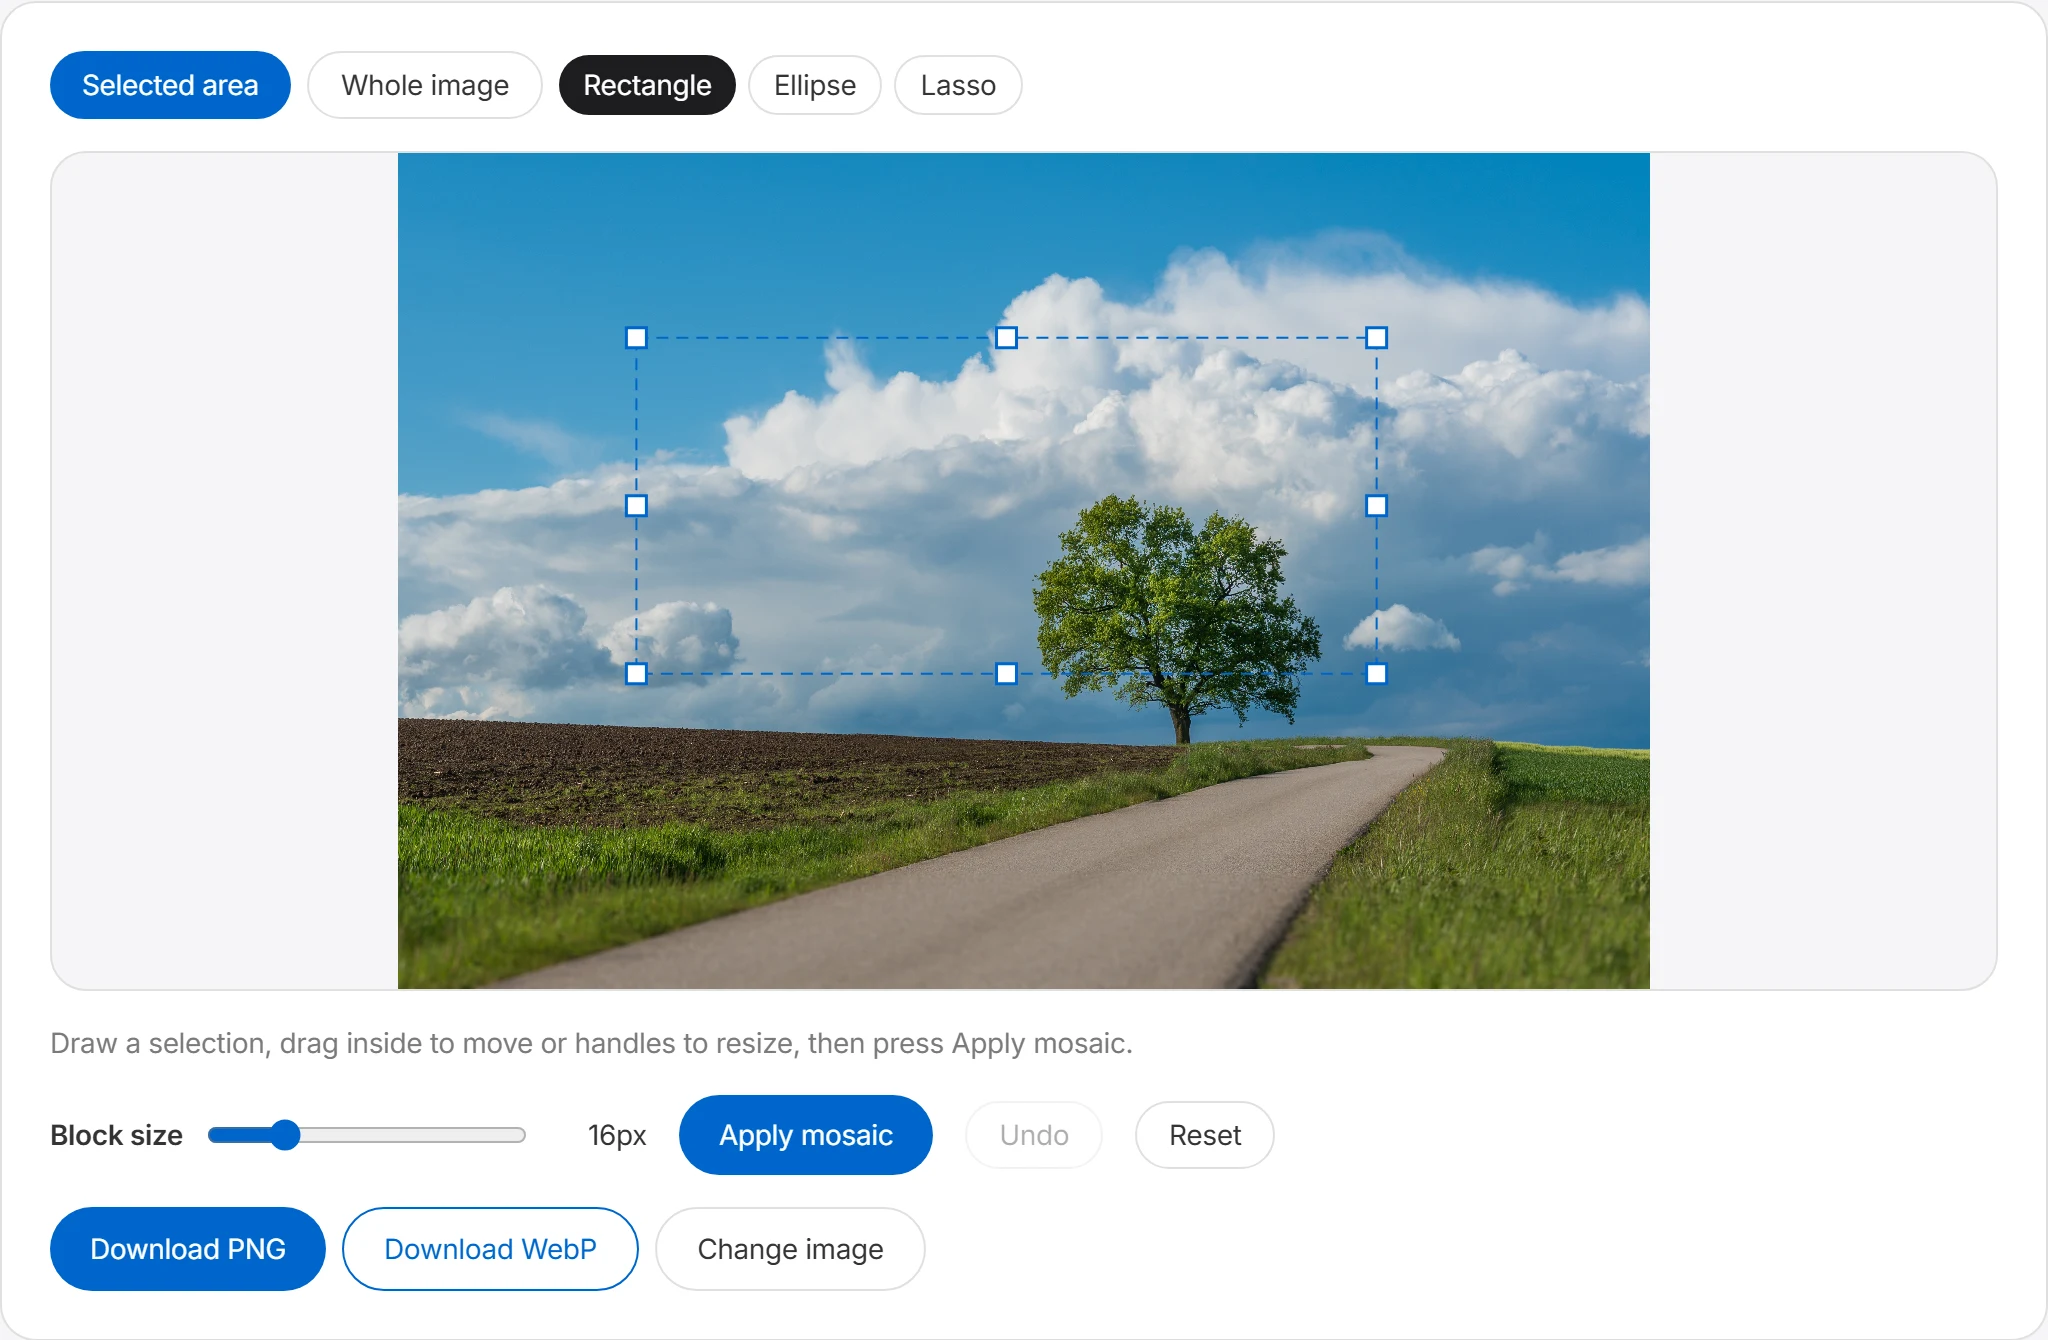
Set the block size and apply
Set the block size, then press “Apply pixelation.” Bigger blocks obscure more detail. Repeat the same steps for additional spots, and use Undo to step back if needed.
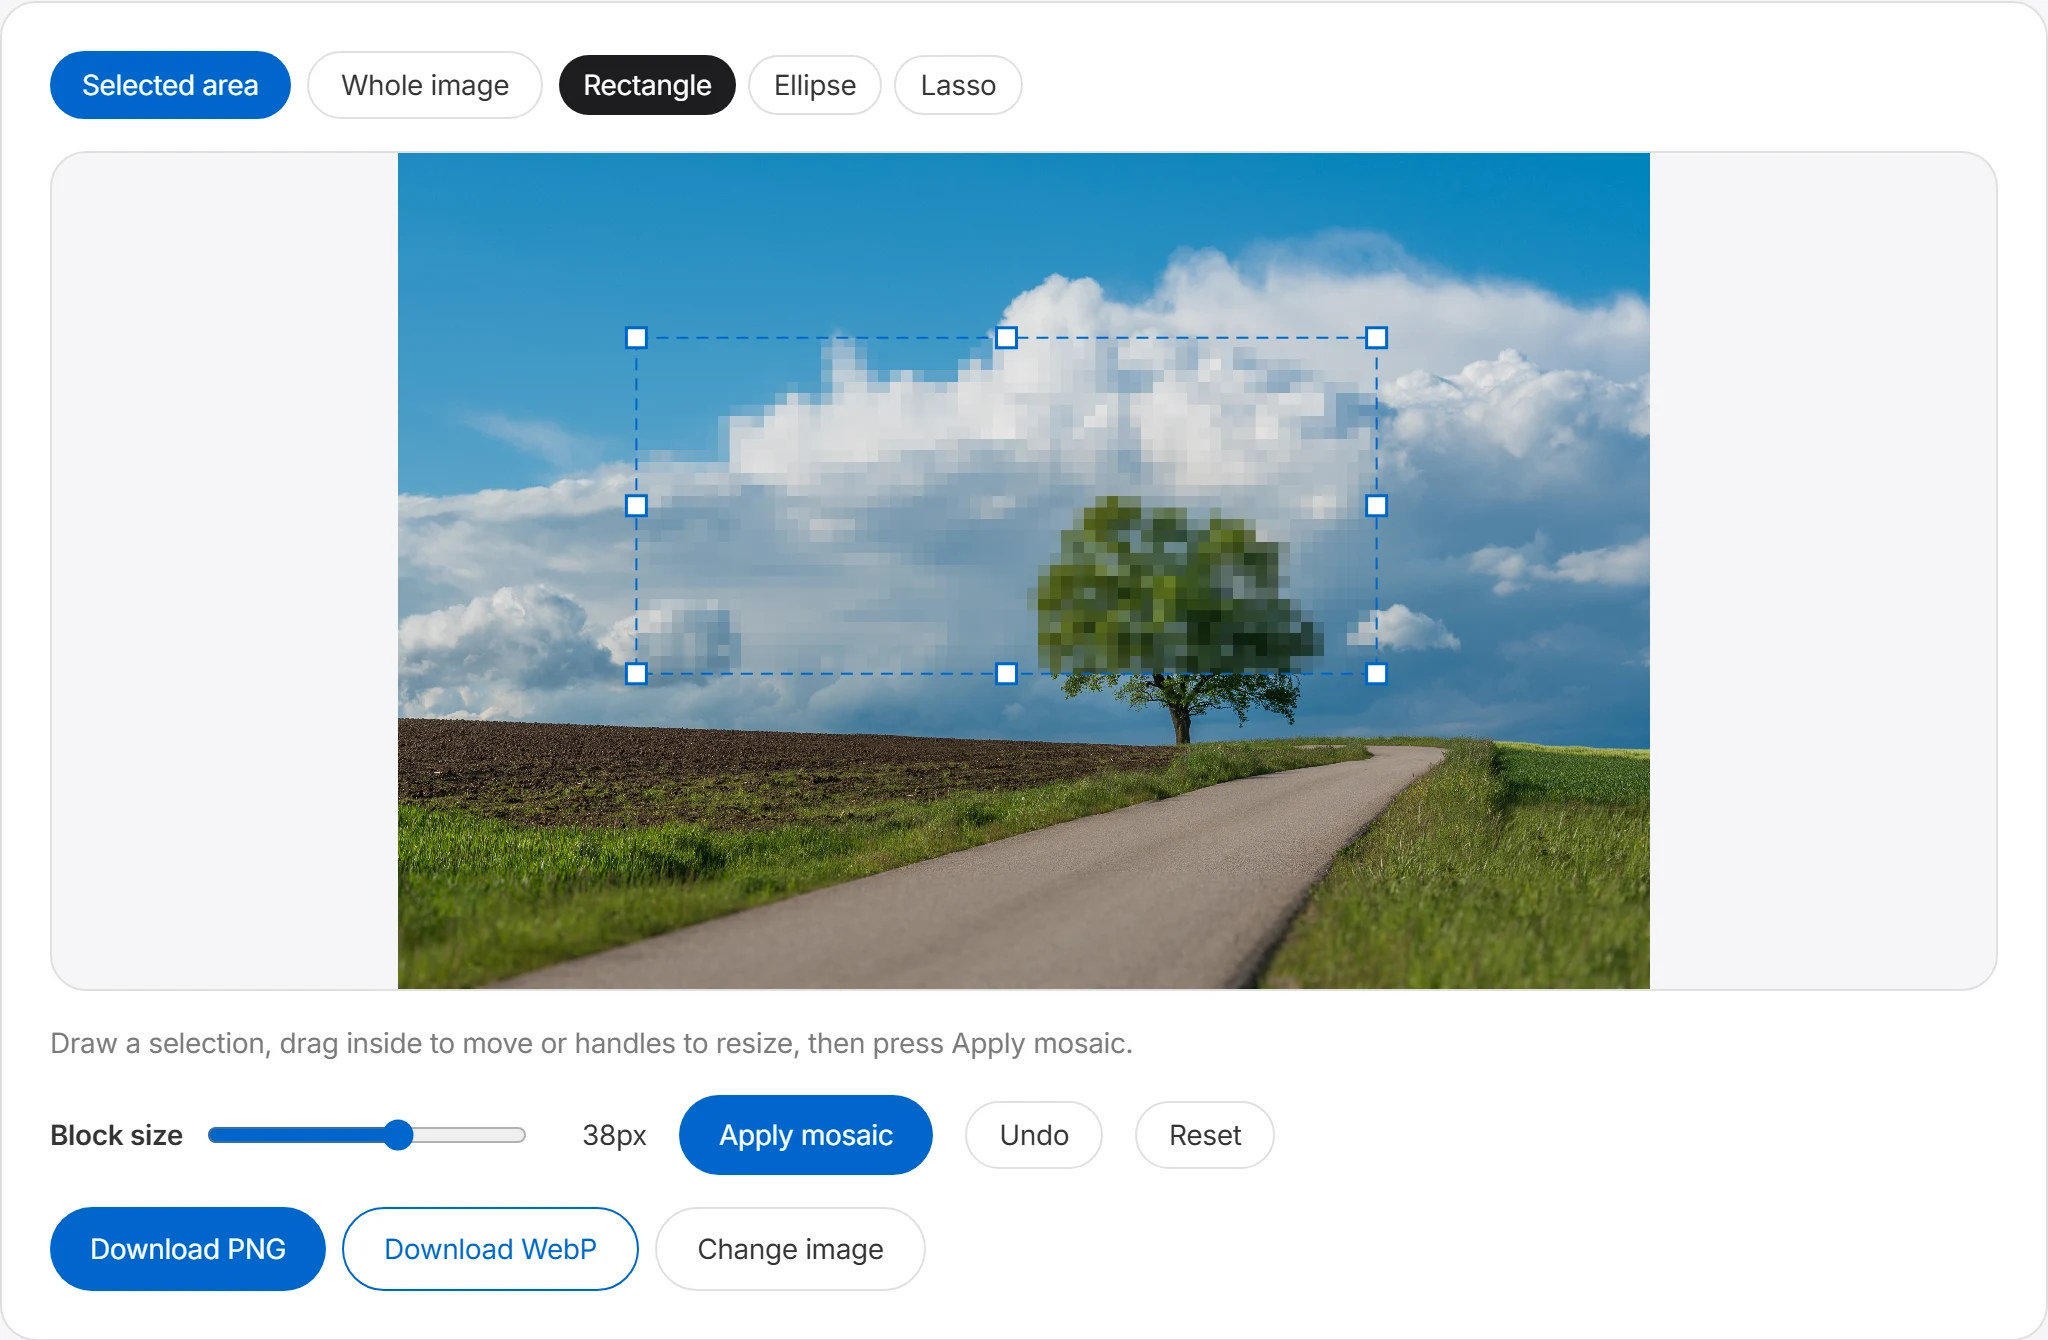
Check the result and download
Zoom in and confirm the hidden parts really are unreadable — small text especially can stay legible if the blocks are too small. Then download as PNG or WebP and you're done.
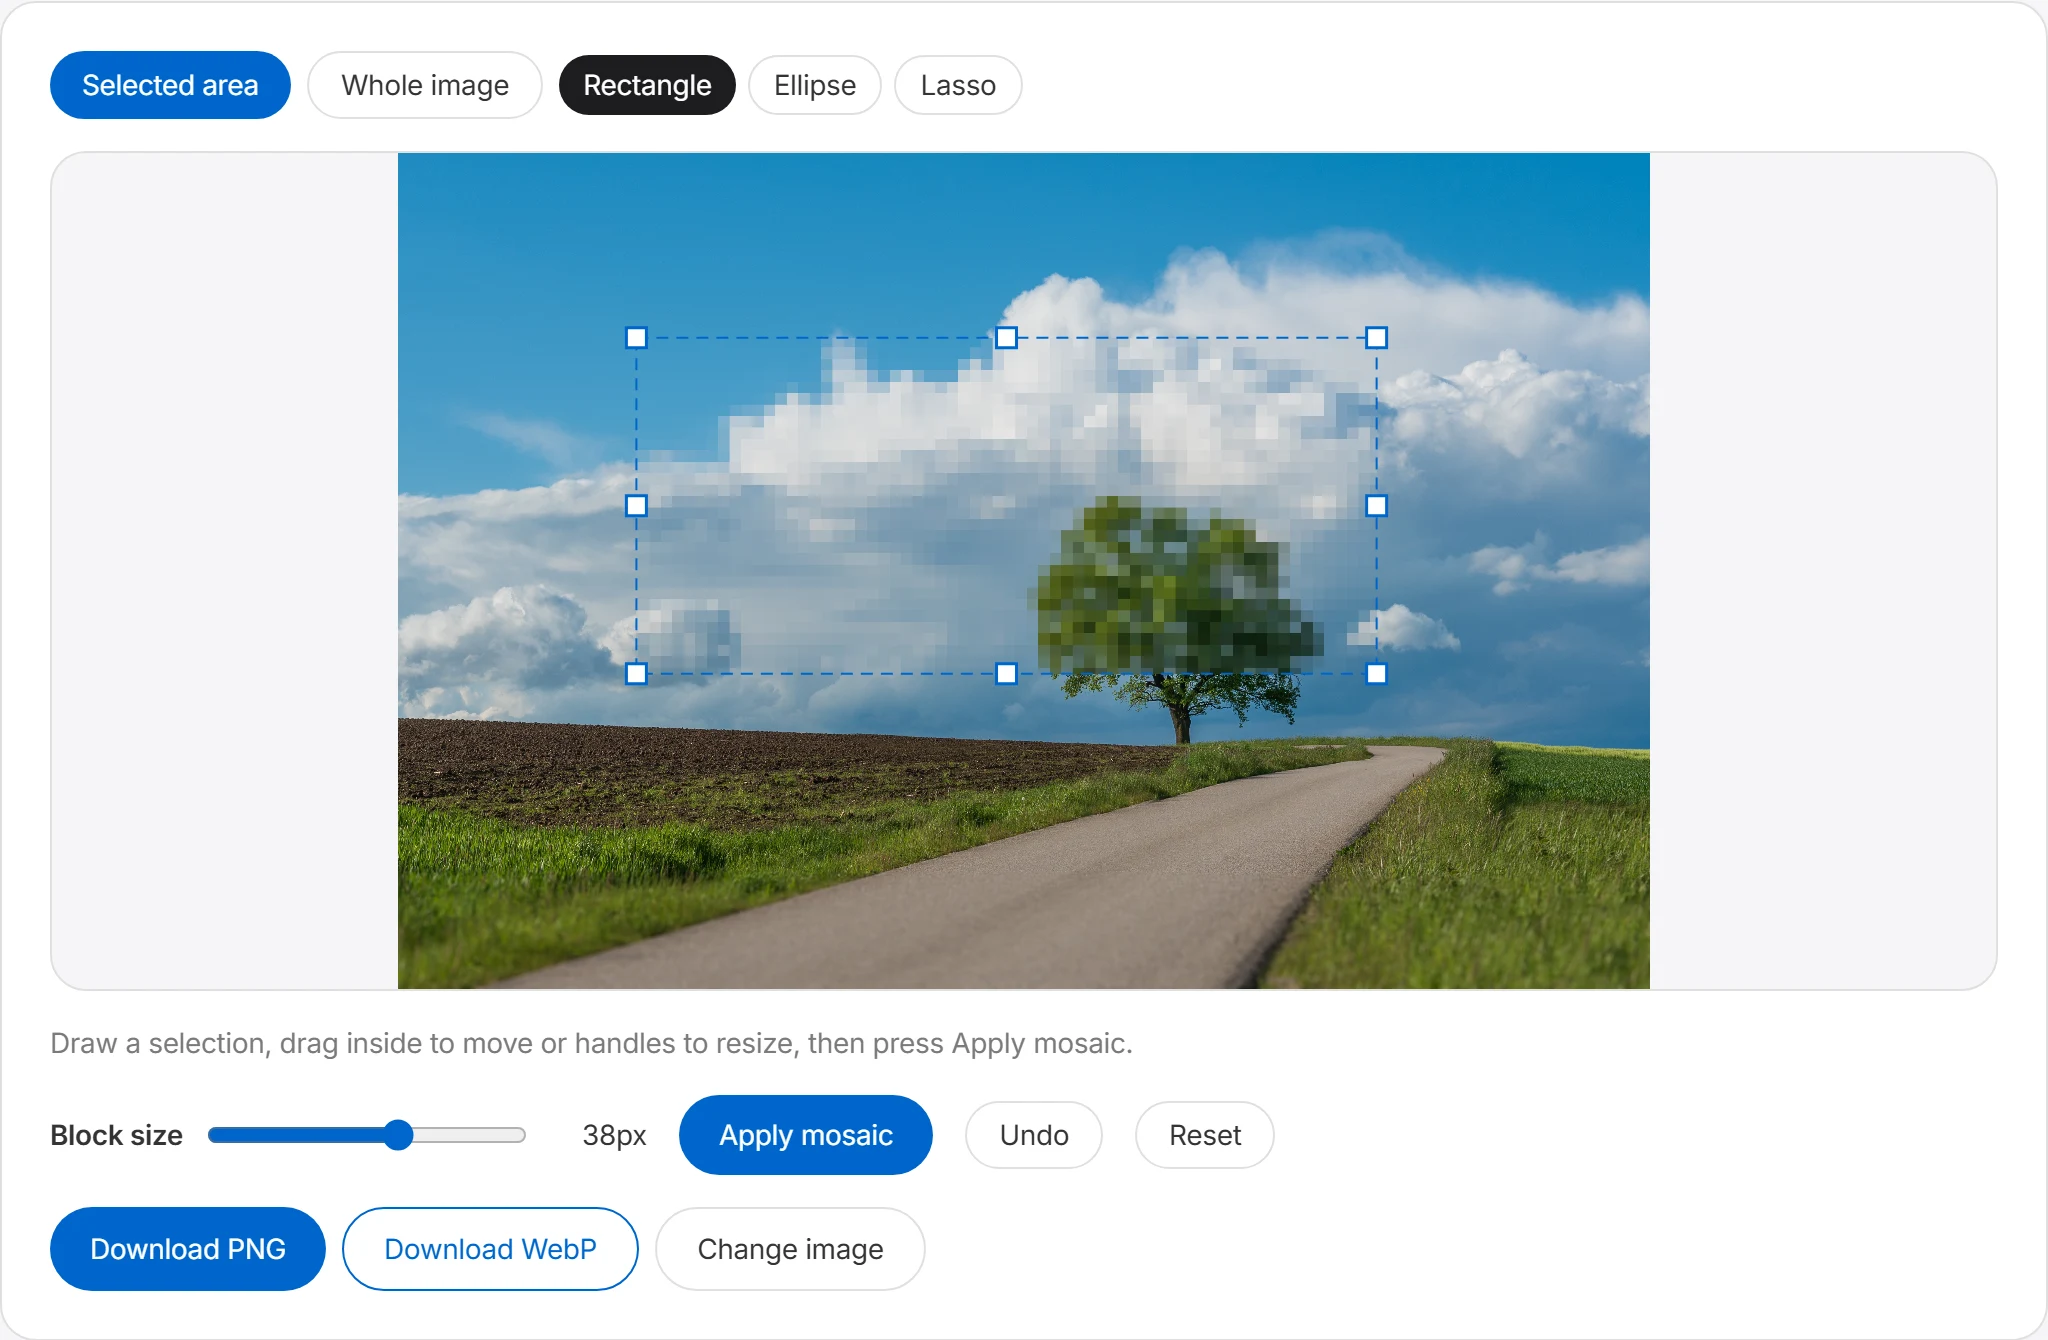
Pixelate selected areas
Draw a rectangle, ellipse, or lasso over a face, name tag, phone number, license plate, or another detail. Apply pixelation to that region, then repeat the process for any additional areas.
Control the block size
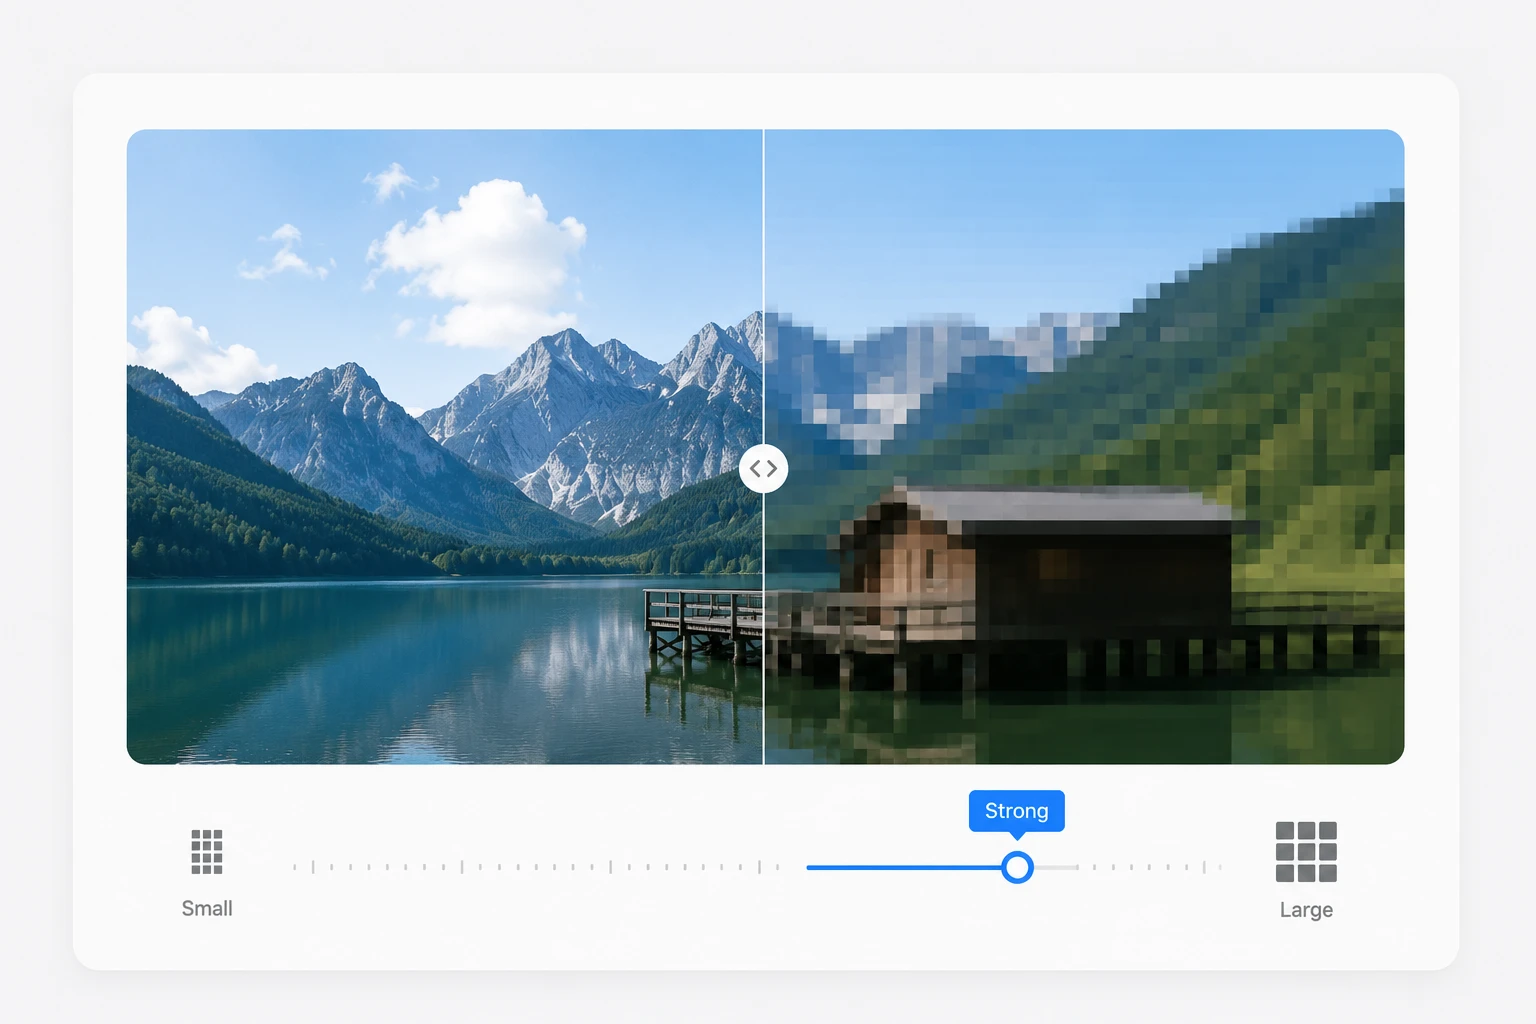
Adjust the block size to make the pixelation coarse or fine. Larger blocks obscure more detail, while smaller blocks may leave shapes recognizable. You can also pixelate the whole image at once.
Details to check before sharing
Review the whole image for details that should not be public before you share it.
Privacy before posting to social media
Cover other people's faces in group photos, licence plates in the background, and signs that reveal an address. Reopen the saved file and zoom in to reduce the risk of unintended disclosure.
Sharing work screenshots
Before sharing a screen with customer data, account numbers, or internal details, cover each sensitive region generously. Zoom into the exported file and check that character shapes no longer remain.
Marketplace & review photos
Cover names, addresses, and phone numbers on shipping labels and card details on receipts. Check barcodes and nearby paperwork for the same information before posting.
Submitting documents
If the recipient permits redaction, cover only the parts of an ID copy or supporting document that are not required. Follow the recipient's submission rules before altering an official document.
Frequently asked questions
How do I pixelate just one part of an image?
Switch to Selected area, choose a rectangle, ellipse, or lasso, then drag over the part you want to hide. Press Apply pixelation and only that area is changed. You can move or resize the selection before applying, then repeat for other areas.
Is this good for hiding faces or personal information?
Pixelation can obscure faces, names, phone numbers, addresses, license plates, and other personal details before a photo or screenshot is shared. It does not guarantee that sensitive content is unrecoverable or unreadable. Use larger blocks, cover beyond the exact edges, and reopen the exported file at high zoom before sharing it.
What is block size?
Block size sets the size of each pixelated square. A larger value creates coarser blocks that obscure more detail, while a smaller value leaves a finer pattern.
| Block size | Result |
|---|---|
| Small | Fine pixelation, detail still hinted |
| Medium | Balanced hiding for most uses |
| Large | Strong blocks that hide details firmly |
Can I undo pixelation or start over?
Yes. Use Undo to remove the last pixelation step, or Reset to restore the original image. Each application can be undone one step at a time.
Which format should I download?
You can download as PNG or WebP. PNG keeps crisp quality with a larger file size, while WebP keeps good quality at a smaller size. For photos shared on the web, WebP is usually efficient; for the sharpest result, choose PNG.